JS模块化
什么是模块化?
将一个复杂的程序依据一定的规则(规范)封装成几个块(文件),并进行组合在一起。
块的内部数据/实现是私有的,只是向外部暴露一些接口(方法)与外部其它模板通信。
把所有的js代码写在一起,功能点不明确,耦合度不够,很难维护。
模块化的优点
- 避免命名冲突,减少命名空间污染
- 更好的分离,按需加载
- 更高复用性
- 高可维护性
页面引入加载script
引入的过多,发的请求就会过多 依赖模糊 并且要注意引用的顺序 难以维护
常见的模块化规范和工具
CommonJS(通用模块化规范)
规范
说明
- 每个文件都可以当作一个模块
- 在服务器端:模块的加载时运行时同步加载的-->会发生阻塞
- 在浏览器端:模块需要提前编译打包处理
实现
服务器端实现
基本语法
暴露模块
//value可以是任意的数据类型
1.module.exports = value
2.exports.xxx = value
//暴露的模块到底是什么? 暴露的本质都是exports这个对象
//原本exports就是空的对象
引入模块
require(xxx)
第三方模块 :xxx为模块名
自定义模块:xxx为模块文件路径
下载第三方模块 npm install xx
模块化编码 
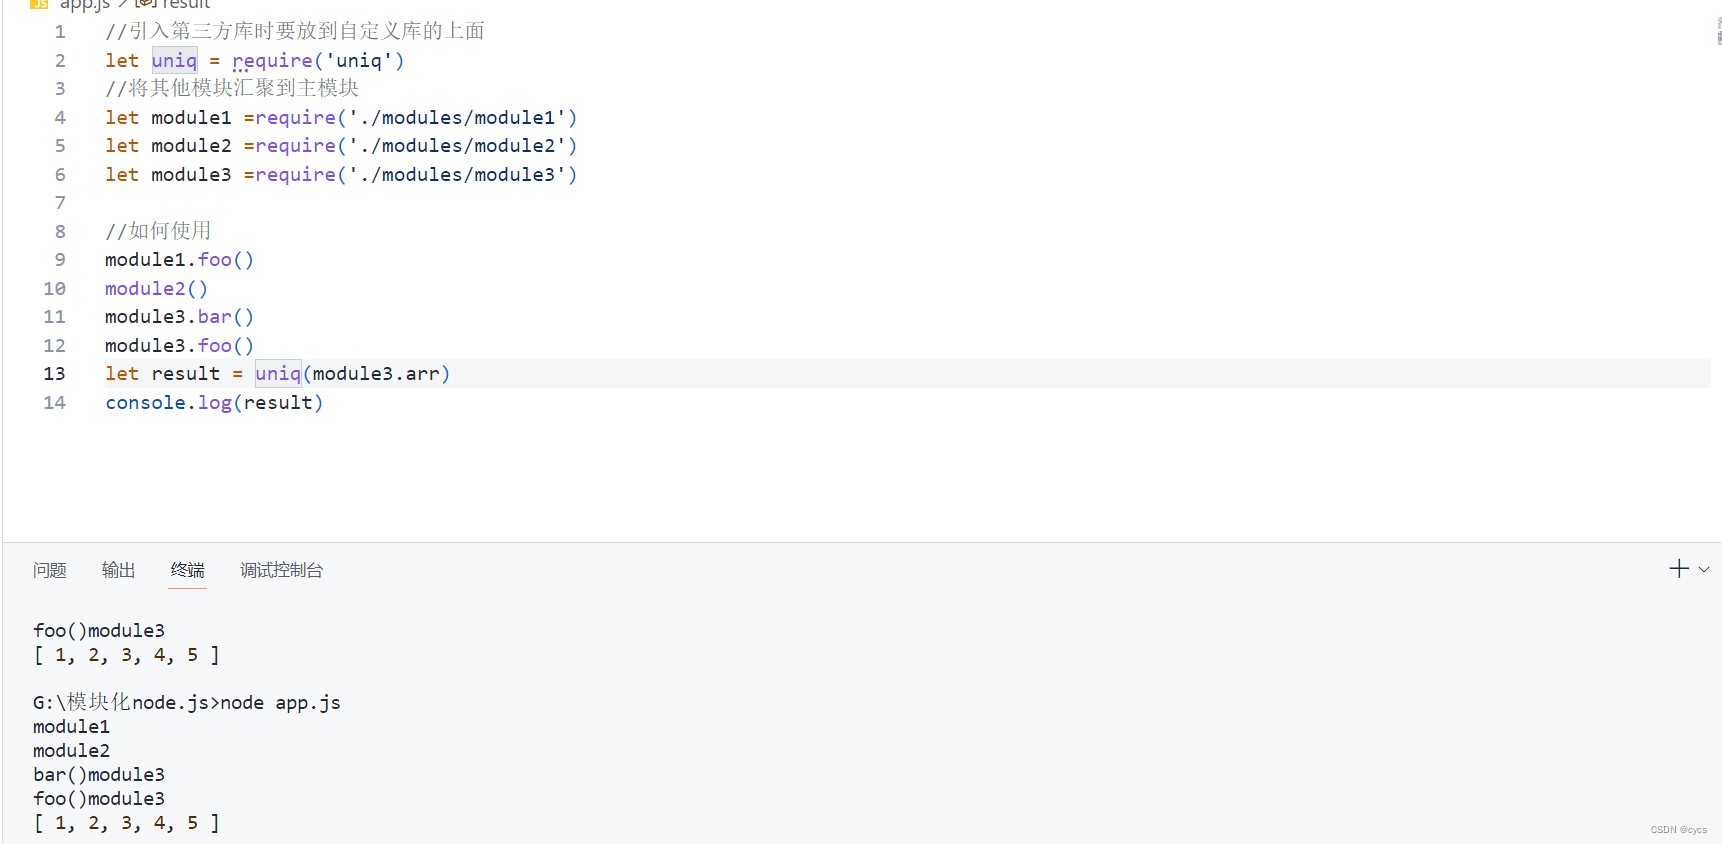
##app.js
//引入第三方库时要放到自定义库的上面
let uniq = require('uniq')
//将其他模块汇聚到主模块
let module1 =require('./modules/module1')
let module2 =require('./modules/module2')
let module3 =require('./modules/module3')
//如何使用
module1.foo()
module2()
module3.bar()
module3.foo()
let result = uniq(module3.arr)
console.log(result)
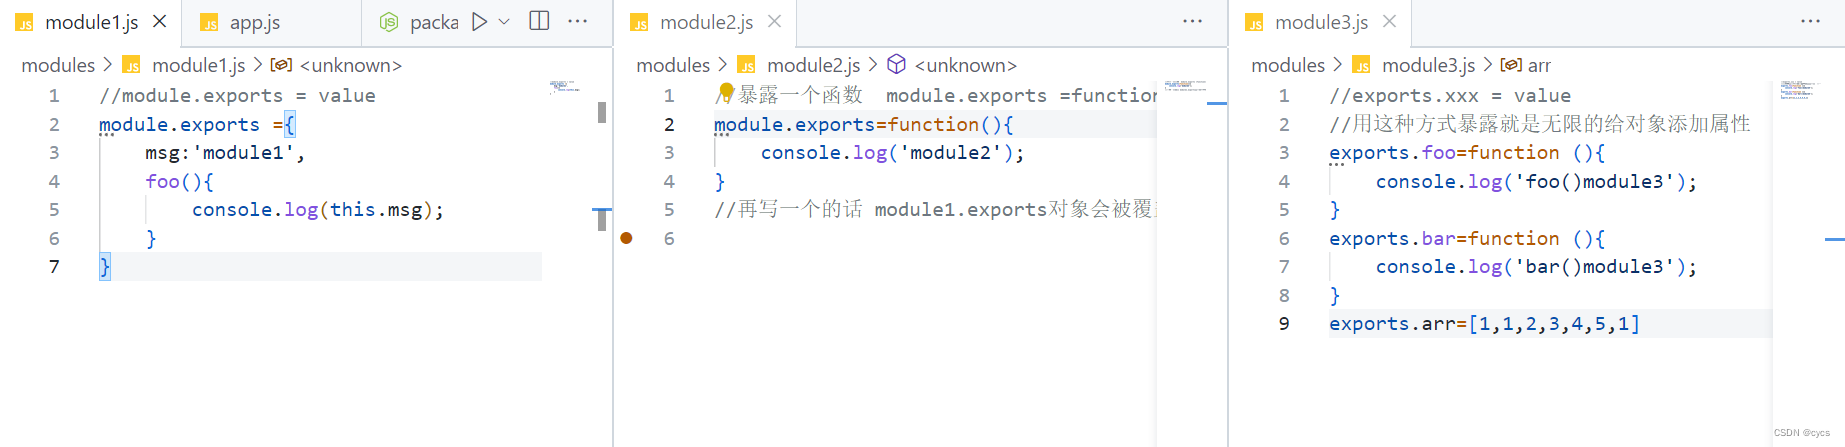
##module1.js
//module.exports = value
module.exports ={
msg:'module1',
foo(){
console.log(this.msg);
}
}
##module2.js
//暴露一个函数 module.exports =function(){}
module.exports=function(){
console.log('module2');
}
//再写一个的话 module1.exports对象会被覆盖
##module3.js
//exports.xxx = value
//用这种方式暴露就是无限的给对象添加属性
exports.foo=function (){
console.log('foo()module3');
}
exports.bar=function (){
console.log('bar()module3');
}
exports.arr=[1,1,2,3,4,5,1]
浏览器端实现
 |-js
    |-dist //打包生成文件的目录
    |-src //源码所在的目录
      |-module1.js
      |-module2.js
      |-module3.js
      |-app.js //应用主源文件
  |-index.html
  |-package.json
    {
      "name": "browserify-test",
      "version": "1.0.0"
    }
## module1.js
module.exports = {
    foo() {
      console.log('moudle1 foo()')
    }
  }

## module2.js
module.exports = function () {
      console.log('module2()')
    }

## module3.js
 exports.foo = function () {
      console.log('module3 foo()')
    }

 exports.bar = function () {
      console.log('module3 bar()')
    }


## app.js
//引用模块
    let module1 = require('./module1')
    let module2 = require('./module2')
    let module3 = require('./module3')

    let uniq = require('uniq')

    //使用模块
    module1.foo()
    module2()
    module3.foo()
    module3.bar()

    console.log(uniq([1, 3, 1, 4, 3]))
AMD(异步模块定义)
规范
说明
专门用于浏览器端,模块的加载是异步的。
基本语法
定义暴露模块
//定义没有依赖的模块
define(function(){
    return 模块
})

//定义有依赖的模块
//第一个参数必须是一个数组,数组里面放置的是依赖的模块 第二个参数是函数 函数要有形参
define(['module1','module2'],function(m1,m2){
    return 模块
})
引入使用模块
require(['module1','module2'],function(m1,m2){
    使用m1/m2
})
实现
非AMD实现
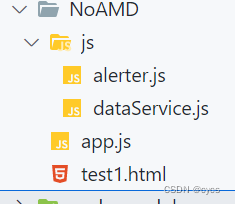
## dataService.js
// 定义一个没有依赖的模块
(function(window){
    let name='dataService.js';
    function getName(){
        return name
    }
    window.dataService={getName};
})(window)

## alerter.js
// 定义一个有依赖的模块
(function(window,dataService){
    let msg='alerter.js'
    function showMsg(){
        console.log(msg,dataService.getName());
    }
    window.alerter={showMsg};
})(window,dataService)

## app.js
(function (alerter) {
    alerter.showMsg();
})(alerter)

## test.html
<script src="./js/dataService.js"></script>  //由于alerter.js依赖于dataService,所以也要在引入alerter之前引入dataService.js文件
<script src="./js/alerter.js"></script>  //引入alerter.js文件
<script src="./app.js"></script>  //单独引入app.js找不到alerter文件
AMD实现
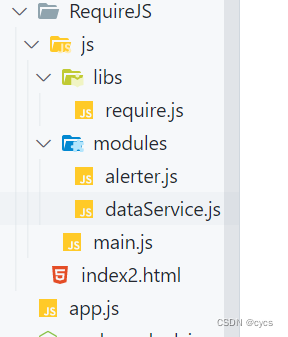
##dataService.js
// 定义没有依赖的模块
define(function () {
    let msg = 'atguigu.com'
    function getMsg() {
        return msg
    }
    // 暴露模块
    return { getMsg }
})

##alerter.js
// 定义有依赖模块
define(['dataService'], function (dataService) {
    let name = 'Tom2'
    function showMsg() {
        console.log(name, dataService.getMsg());
    }
    // 暴露模块
    return { showMsg }
})

##main.js
// 引入模块
(function () {
    // 配置
    require.config({
        //映射: 模块标识名: 路径
        paths: {
            //自定义模块
            alerter: './modules/alerter',
            dataService: './modules/dataService',

        },
    })
    // 引入模块使用
    requirejs(['alerter'], function (alerter) {
        alerter.showMsg();
    })
})()

##index.html
<script data-main="js/main.js" src="js/libs/require.js"></script>
##先加载require.js文件,然后加载main.js
CMD (简单了解即可)
ES6(目前应用最广泛)
ES6 模块的设计思想是尽量的静态化,使得编译时就能确定模块的依赖关系,以及输入和输出的变量。CommonJS 和 AMD 模块,都只能在运行时确定这些东西。比如,CommonJS 模块就是对象,输入时必须查找对象属性
- 依赖模块需要编译打包处理;
- 导出模块: export;
- 引入模块: import;
- 使用Babel将ES6编译为ES5代码;(有的浏览器不支持)
- 使用Browserify编译打包js;(require语法)
1.定义package.json文件
 {
   "name" : "es6-babel-browserify",
   "version" : "1.0.0"
 }
2.安装
npm install babel-cli browserify -g
npm install babel-preset-es2015 --save-dev
3。定义.babelrc文件
	{
    "presets": ["es2015"]
  }
4.编码
##js/src/module1.js
// 暴露模块  分别暴露
export function foo(){
    console.log('foo() module1');
}
export function bar(){
    console.log('bar() module1');
}
export let arr=[1,2,3,4,5]


## js/src/module2.js
// 统一暴露
function fun() {
    console.log('fun() module2');
}
function fun2() {
    console.log('fun2() module2');
}
export { fun, fun2 };

## js/src/module3.js
//默认暴露  可以暴露任意数据类型,暴露什么数据类型,暴露什么数据接收到的就是什么数据
// export default value

// 方式一:
/* export default ()=>{
    console.log('我是默认暴露的箭头函数');
} */

// 方式二:
export default {
    msg: '默认暴露',
    foo() {
        console.log(this.msg);
    }
}

 ## js/src/app.js
//引入其他的模块
//语法:import xxx from '路径'

import module1 from './module1'
import module2 from './module2'
console.log(module1,module2);  //undefined  undefined
译并在index.html中引入
使用Babel将ES6编译为ES5代码(但包含CommonJS语法) :
babel js/src -d js/lib
使用Browserify编译js :
browserify js/lib/app.js -o js/lib/bundle.js
然后在index.html文件中引入
<script type="text/javascript" src="js/lib/bundle.js"></script>参考:
视频-尚硅谷
博客


