第四章 React ajax
一、理解
1. 前置说明
- React 本身只关注于界面, 并不包含发送 ajax 请求的代码
- 前端应用需要通过 ajax 请求与后台进行交互(json 数据)
- react 应用中需要集成第三方 ajax 库(或自己封装)
2. 常用的 ajax 请求库
- jQuery: 比较重, 如果需要另外引入不建议使用
- axios: 轻量级, 建议使用
- 封装 XmlHttpRequest 对象的 ajax
- promise 风格
- 可以用在浏览器端和 node 服务器端
二、axios
1. 文档
- https://github.com/axios/axios
2. 相关 API
2.1 GET 请求
axios.get('/user?ID=12345')
  .then(function (response) {
    console.log(response.data);
  })
  .catch(function (error) {
    console.log(error);
  });

axios.get('/user', {
    params: {
      ID: 12345
    }
  })
  .then(function (response) {
    console.log(response);
  })
  .catch(function (error) {
    console.log(error);
  });
2.2 POST 请求
axios.post('/user', {
  firstName: 'Fred',
  lastName: 'Flintstone'
})
.then(function (response) {
console.log(response);
})
.catch(function (error) {
console.log(error);
});
3. 代码(配置代理)
/* src/App.jsx */
import React, { Component } from 'react'
import axios from 'axios'

export default class App extends Component {

	getStudentData = ()=>{
		axios.get('http://localhost:3000/api1/students').then(
			response => {console.log('成功了',response.data);},
			error => {console.log('失败了',error);}
		)
	}

	getCarData = ()=>{
		axios.get('http://localhost:3000/api2/cars').then(
			response => {console.log('成功了',response.data);},
			error => {console.log('失败了',error);}
		)
	}

	render() {
		return (
			<div>
				<button onClick={this.getStudentData}>点我获取学生数据</button>
				<button onClick={this.getCarData}>点我获取汽车数据</button>
			</div>
		)
	}
}
/* src/index.js */
//引入react核心库
import React from 'react'
//引入ReactDOM
import ReactDOM from 'react-dom'
//引入App
import App from './App'

ReactDOM.render(<App/>,document.getElementById('root'))
/* src/setupProxy.js */
const proxy = require('http-proxy-middleware')

module.exports = function(app){
	app.use(
		proxy('/api1',{ //遇见/api1前缀的请求,就会触发该代理配置
			target:'http://localhost:5000', //请求转发给谁
			changeOrigin:true,//控制服务器收到的请求头中Host的值
			pathRewrite:{'^/api1':''} //重写请求路径(必须)
		}),
		proxy('/api2',{
			target:'http://localhost:5001',
			changeOrigin:true,
			pathRewrite:{'^/api2':''}
		}),
	)
}
3.1 方法一
在 package.json 中追加如下配置
"proxy":"http://localhost:5000"
- 说明:
- 优点:配置简单,前端请求资源时可以不加任何前缀。
- 缺点:不能配置多个代理。
- 工作方式:上述方式配置代理,当请求了 3000 不存在的资源时,那么该请求会转发给 5000 (优先匹配前端资源)
3.2 方法二
- 创建代理配置文件
在 src 下创建配置文件:src/setupProxy.js
- 编写 setupProxy.js 配置具体代理规则:
const proxy = require('http-proxy-middleware')

module.exports = function(app) {
  app.use(
    proxy('/api1', {  //api1是需要转发的请求(所有带有/api1前缀的请求都会转发给5000)
      target: 'http://localhost:5000', //配置转发目标地址(能返回数据的服务器地址)
      changeOrigin: true, //控制服务器接收到的请求头中host字段的值
      /*
      	changeOrigin设置为true时,服务器收到的请求头中的host为:localhost:5000
      	changeOrigin设置为false时,服务器收到的请求头中的host为:localhost:3000
      	changeOrigin默认值为false,但我们一般将changeOrigin值设为true
      */
      pathRewrite: {'^/api1': ''} //去除请求前缀,保证交给后台服务器的是正常请求地址(必须配置)
    }),
    proxy('/api2', {
      target: 'http://localhost:5001',
      changeOrigin: true,
      pathRewrite: {'^/api2': ''}
    })
  )
}
- 说明:
- 优点:可以配置多个代理,可以灵活的控制请求是否走代理。
- 缺点:配置繁琐,前端请求资源时必须加前缀。
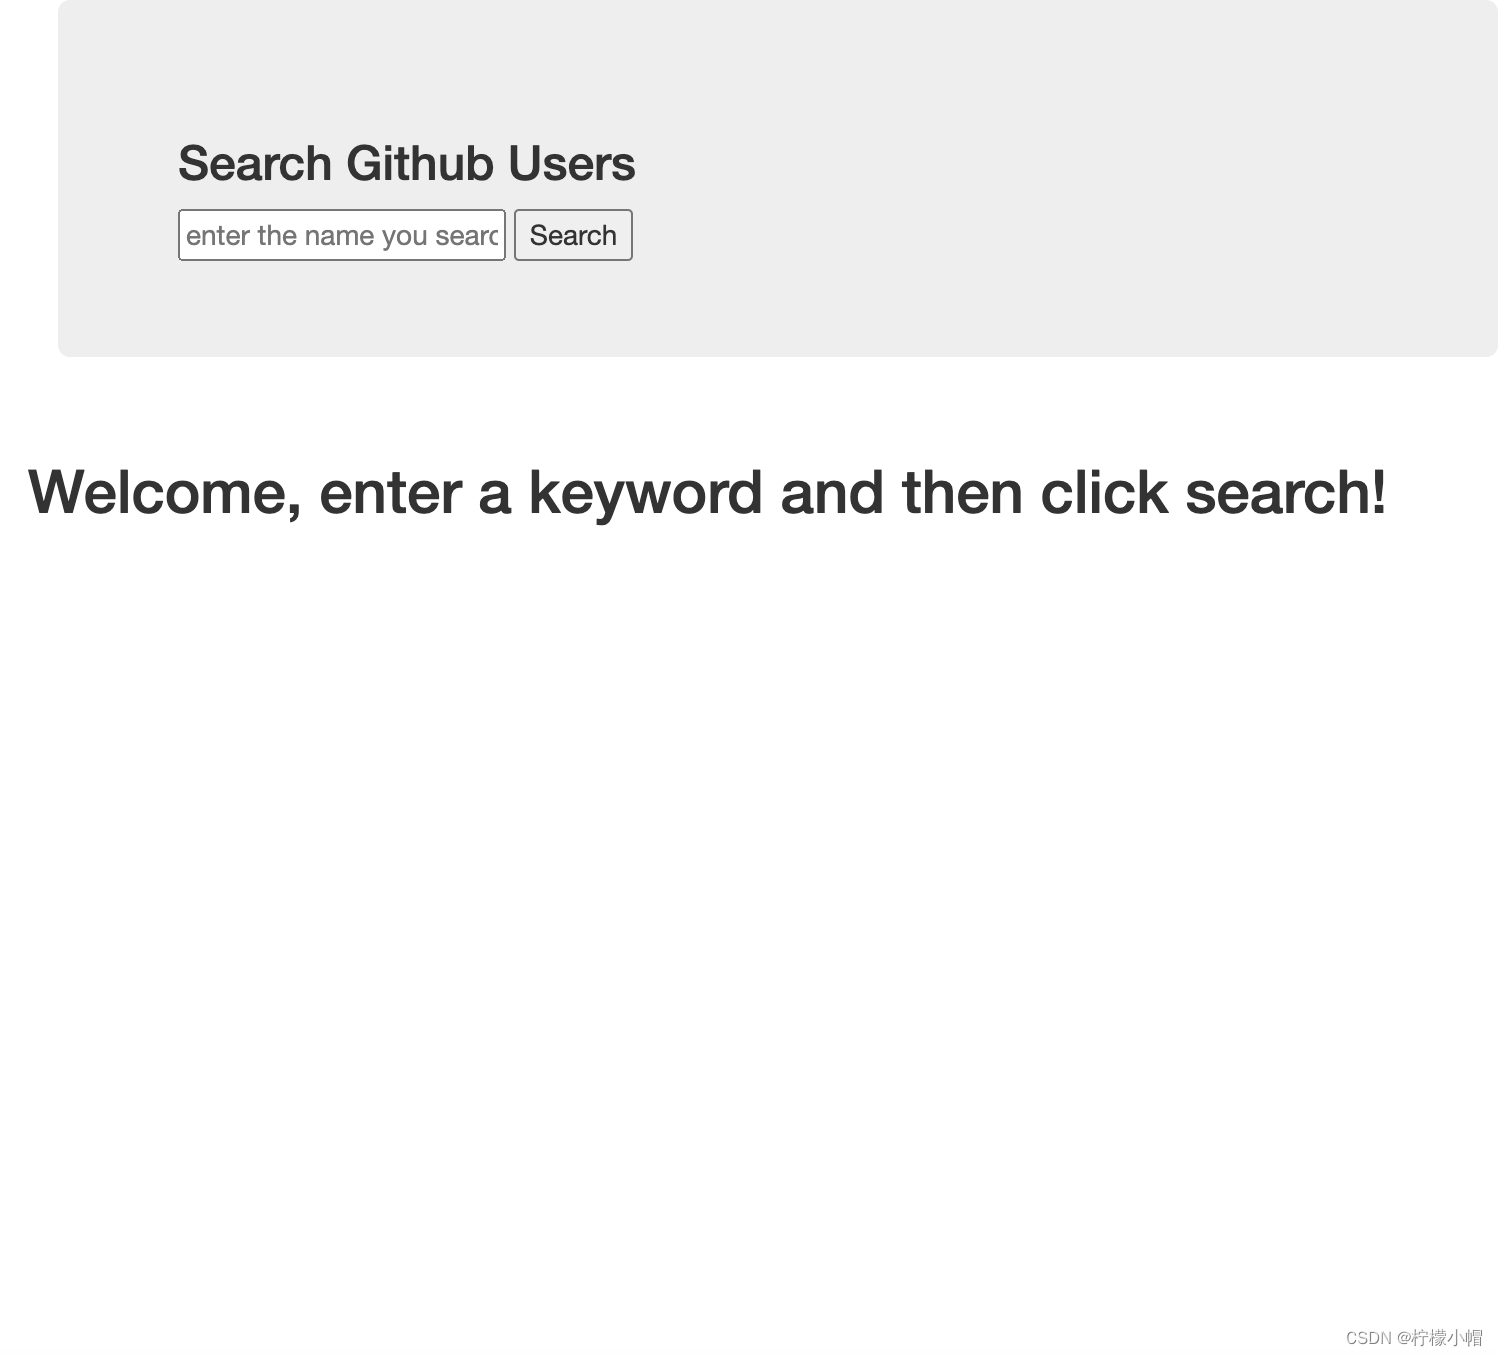
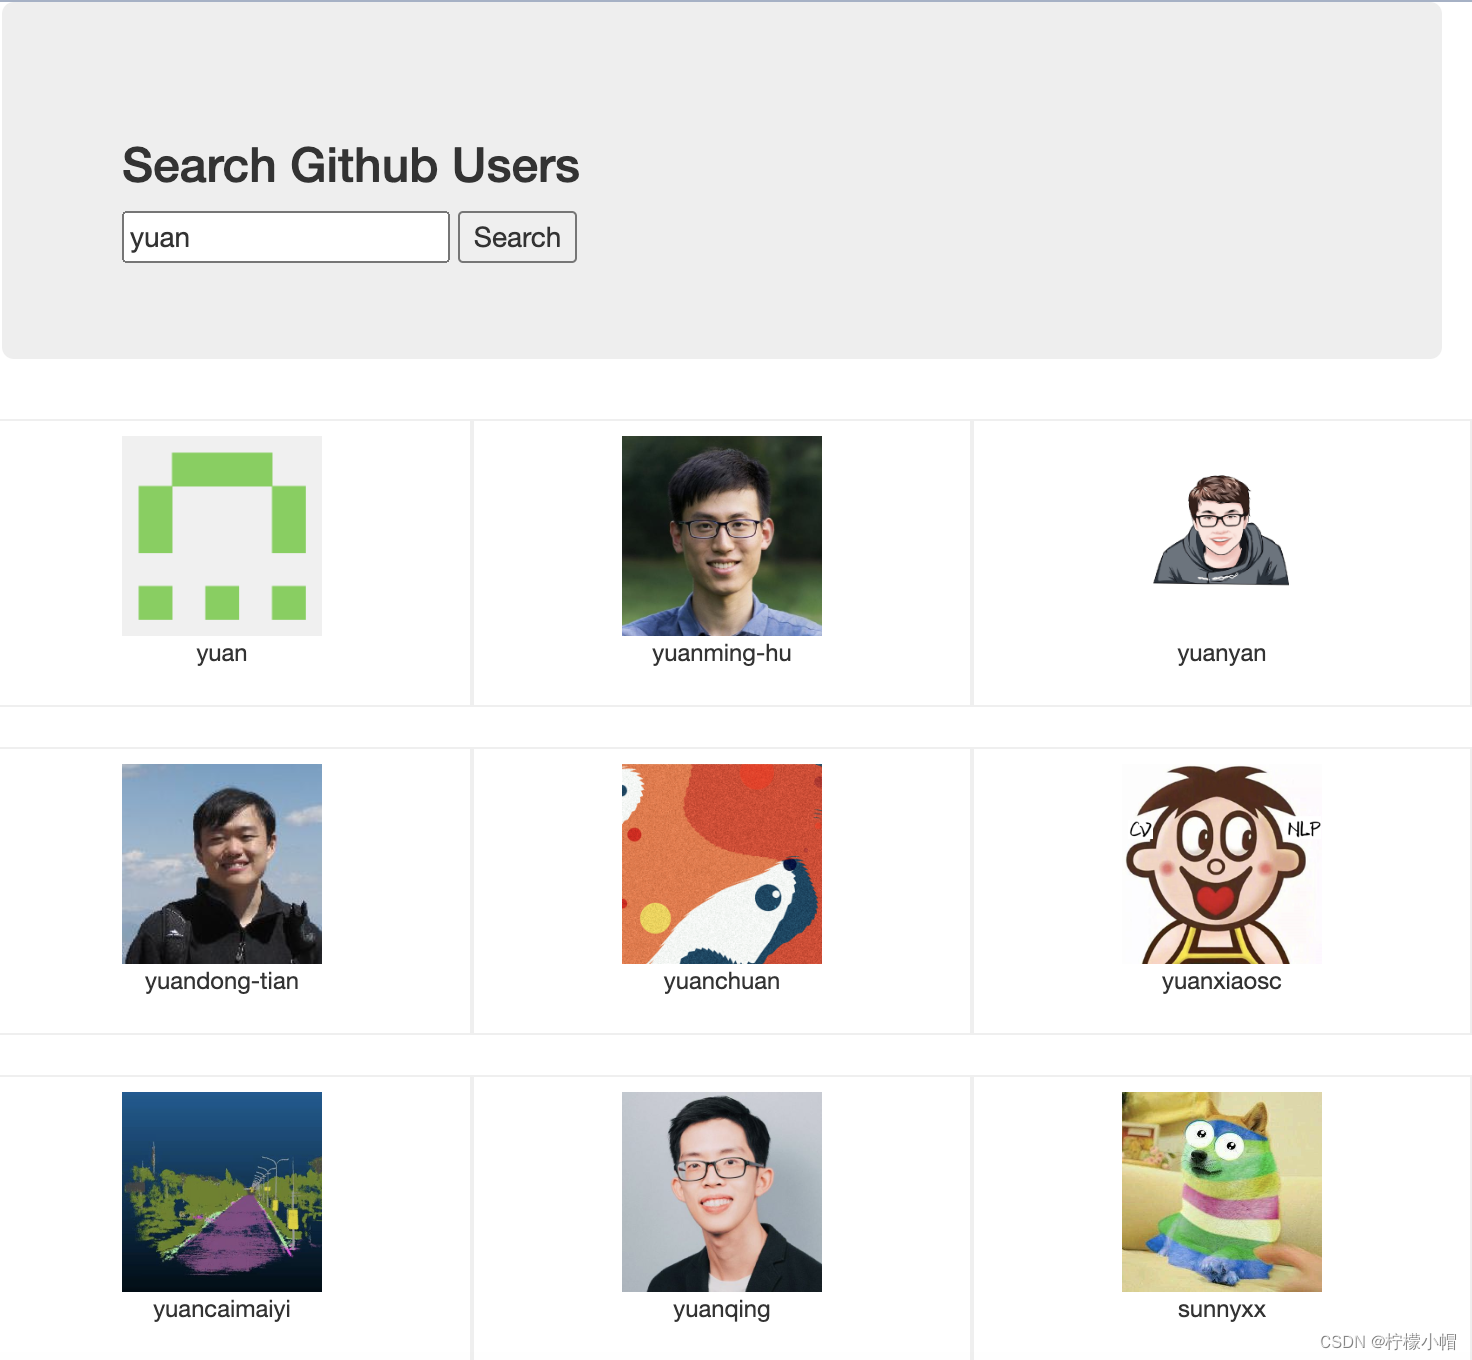
三、案例 – github 用户搜索
1. 效果
- 请求地址: https://api.github.com/search/users?q=xxxxxx
2. 代码实现

2.1 静态页面
/* public/css/bootstrap.css */
...
<!-- public/index.html -->
<!DOCTYPE html>
<html lang="en">
  <head>
    <meta charset="utf-8" />
    <link rel="icon" href="%PUBLIC_URL%/favicon.ico" />
    <meta name="viewport" content="width=device-width, initial-scale=1" />
    <meta name="theme-color" content="#000000" />
    <meta
      name="description"
      content="Web site created using create-react-app"
    />
    <link rel="apple-touch-icon" href="%PUBLIC_URL%/logo192.png" />
    <link rel="manifest" href="%PUBLIC_URL%/manifest.json" />
    <link rel="stylesheet" href="./css/bootstrap.css">

    <title>React App</title>
  </head>
  <body>
    <div id="root"></div>
  </body>
</html>
/* src/App.css */
.album {
    min-height: 50rem; /* Can be removed; just added for demo purposes */
    padding-top: 3rem;
    padding-bottom: 3rem;
    background-color: #f7f7f7;
  }

  .card {
    float: left;
    width: 33.333%;
    padding: .75rem;
    margin-bottom: 2rem;
    border: 1px solid #efefef;
    text-align: center;
  }

  .card > img {
    margin-bottom: .75rem;
    border-radius: 100px;
  }

  .card-text {
    font-size: 85%;
  }
/* src/App.jsx */
import React, { Component } from 'react'
import './App.css'
export default class App extends Component {
render() {
return (
<div className="container">
<section className="jumbotron">
<h3 className="jumbotron-heading">Search Github Users</h3>
<div>
<input type="text" placeholder="enter the name you search"/> <button>Search</button>
</div>
</section>
<div className="row">
<div className="card">
<a href="https://github.com/reactjs" target="_blank">
<img src="https://avatars.githubusercontent.com/u/6412038?v=3" style={{width:'100px'}}/>
</a>
<p className="card-text">reactjs</p>
</div>
<div className="card">
<a href="https://github.com/reactjs" target="_blank">
<img src="https://avatars.githubusercontent.com/u/6412038?v=3" style={{width:'100px'}}/>
</a>
<p className="card-text">reactjs</p>
</div>
<div className="card">
<a href="https://github.com/reactjs" target="_blank">
<img src="https://avatars.githubusercontent.com/u/6412038?v=3" style={{width:'100px'}}/>
</a>
<p className="card-text">reactjs</p>
</div>
<div className="card">
<a href="https://github.com/reactjs" target="_blank">
<img src="https://avatars.githubusercontent.com/u/6412038?v=3" style={{width:'100px'}}/>
</a>
<p className="card-text">reactjs</p>
</div>
<div className="card">
<a href="https://github.com/reactjs" target="_blank">
<img src="https://avatars.githubusercontent.com/u/6412038?v=3" style={{width:'100px'}}/>
</a>
<p className="card-text">reactjs</p>
</div>
</div>
</div>
)
}
}
/* src/index.js */
//引入react核心库
import React from 'react'
//引入ReactDOM
import ReactDOM from 'react-dom'
//引入App组件
import App from './App'

//渲染App到页面
ReactDOM.render(<App/>,document.getElementById('root'))
2.2 静态组件
2.2.1 List
/* src/components/List/index.jsx */
import React, { Component } from "react";
import "./index.css";

export default class List extends Component {
  render() {
    return (
      <div className="row">
        <div className="card">
          <a rel="noreferrer" href="https://github.com/reactjs" target="_blank">
            <img
              alt="head_portrait"
              src="https://avatars.githubusercontent.com/u/6412038?v=3"
              style={{ width: "100px" }}
            />
          </a>
          <p className="card-text">reactjs</p>
        </div>
      </div>
    );
  }
}
/* src/components/List/index.css */
.album {
  min-height: 50rem; /* Can be removed; just added for demo purposes */
  padding-top: 3rem;
  padding-bottom: 3rem;
  background-color: #f7f7f7;
}

.card {
  float: left;
  width: 33.333%;
  padding: 0.75rem;
  margin-bottom: 2rem;
  border: 1px solid #efefef;
  text-align: center;
}

.card > img {
  margin-bottom: 0.75rem;
  border-radius: 100px;
}

.card-text {
  font-size: 85%;
}
2.2.2 Search
/* src/components/Search/index.jsx */
import React, { Component } from "react";
export default class Search extends Component {
render() {
return (
<section className="jumbotron">
<h3 className="jumbotron-heading">Search Github Users</h3>
<div>
<input type="text" placeholder="enter the name you search" />
<button>Search</button>
</div>
</section>
);
}
}
2.2.3 App
/* src/App.jsx */
import React, { Component } from "react";
import Search from "./components/Search";
import List from "./components/List";

export default class App extends Component {
  render() {
    return (
      <div className="container">
        <Search />
        <List />
      </div>
    );
  }
}


